
PixiCloud has simplified event management with cloud based photo booth software.
Here are step-by-step instructions to creating an Event, adding Billboards and Overlays, and setting your Messaging
- Log in to your PixiCloud account at: www.portal.pixi.cloud
- Select “Events” in the navigation menu
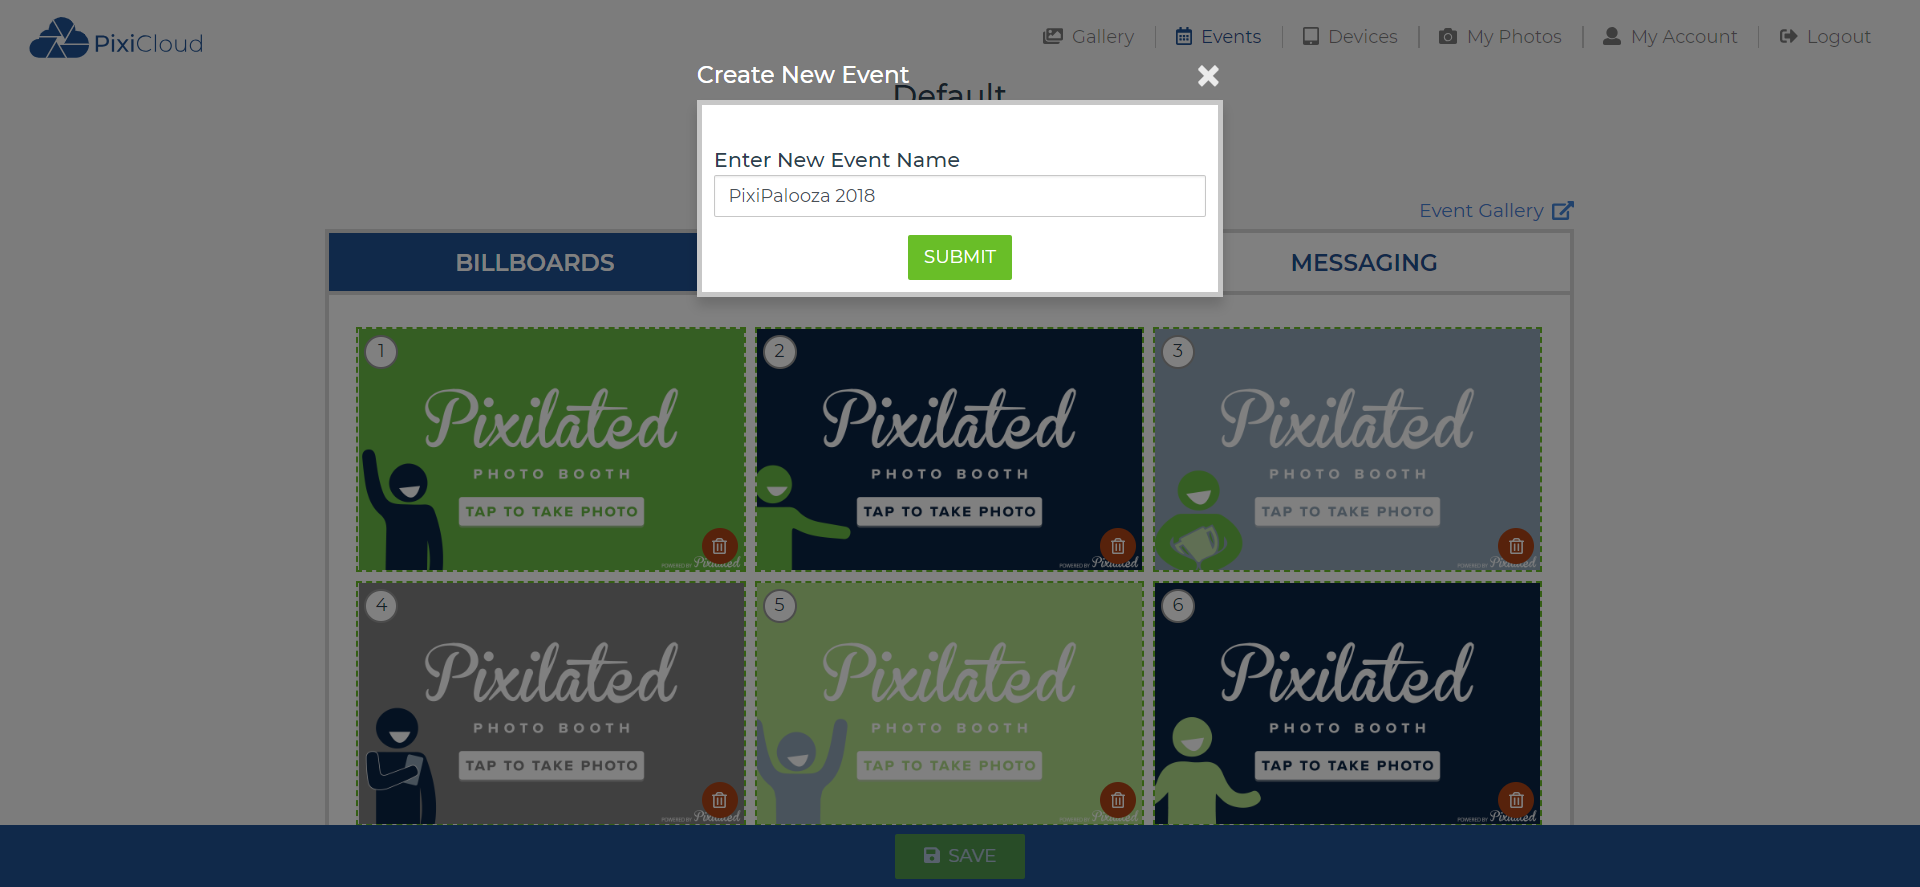
- Click on the green “+CREATE” button
- Give your event a new name and click “SUBMIT”
BILLBOARDS

Billboards Tutorial Video Here
- Click on the “BILLBOARDS” tab
- Upload up to six Billboard files by clicking on each field and selecting each file from your computer, or by dragging and dropping each file
- Files must be PNG format 2MB or less
- Recommended Billboard size 1920×1200
- Set the timing for your Billboard transitions by entering a number between 1-10 seconds in the “TIMER (seconds)” field
- Click on “PREVIEW” to preview the Billboards as they will appear in the Pixi app when active
- Click the “SAVE” button at the bottom of the screen to save your event settings
OVERLAYS

- Click on the “OVERLAYS” tab
- Upload up to six Overlay files by clicking on each field and selecting each file from your computer, or by dragging and dropping each file
- Files must be PNG format with transparent background 2MB or less
- Recommended Overlay size 1800×1200
- Click on “PREVIEW” to preview what users will see after they take picture
- From the Preview window, upload a custom background by clicking on the window or dragging and dropping a file
- Click the “SAVE” button at the bottom of the screen to save your event settings
MESSAGING

- Click on the “MESSAGING” tab
- To make the event photo gallery public, click the checkbox to enable “MAKE GALLERY PUBLIC”, otherwise leave unchecked for a private gallery
- To enable email, click the “ENABLE EMAIL” checkbox, then enter your Email Subject and Email Body in the text fields provided
- To enable an email opt-in agreement for each user, click the “Enable Opt-In” checkbox listed under the email body field
- To automatically add your users to your MailChimp lists, click on the “Connect MailChimp” button
- Follow the prompts to connect MailChimp to PixiCloud
- Once connected, select the MailChimp list that you would like to add users to from the dropdown menu
- For more information on connecting MailChimp CLICK HERE
- To enable text messaging, click the “ENABLE SMS” checkbox, then enter your SMS Body in the text field provided
- Click the “SAVE” button at the bottom of the screen to save your event settings
Leave a Reply